Make a Yo-Yo Christmas Garland
This post may contain some affiliate links for your convenience (which means if you make a purchase after clicking a link I will earn a small commission which helps keep my blog up and running but it won’t cost you a penny more)! Click here to read my full Disclosure and Privacy Policy..

Whether your Christmas tree has a theme or it’s a cheerful collection of memory-filled ornaments, it may be begging for a handmade yo-yo garland.
A few years ago, our Christmas tree was ornament heavy, so I decided to take all my Raggedy Ann ornaments and put them on their own tree.
From the very first year as its own tree, the Raggedy Ann ornaments have been accompanied by a red-bead garland. But something was brewing in the back of my mind. I realized this year, my Raggedy Ann Christmas tree needs a yo-yo garland.
Making a yo-yo garland is the perfect sewing project to combine with TV watching. You can enjoy your show(s) and be productive at the same time.
You may even consider binge-watching Hallmark Christmas movies while working on the yo-yo garland and you’ll feel your holiday spirit grow!
Selecting the Fabric
The first thing to think about is the fabric you want to use for your garland.
The fabric doesn’t have to be Christmas themed, it can be anything you want it to be.
Scraps work great for this project and so does almost any type of fabric. The fabric you select should be able to hold the shape of the yo-yo after it is made. Keep away from anything too thin and floaty.
While I call it my Raggedy Ann Christmas tree, Raggedy Andy is on many of the ornaments, too. So for my garland, I stuck with mostly red, white, and blue fabrics because those are the main colors of the ornaments on my tree.
Deciding the Yo-Yo Size
There isn’t a ‘right’ size to use for the garland. But there are a couple things to keep in mind.
- The smaller the yo-yos the more you’ll need to make the garland.
- If you make the yo-yos too big, they could look funny on the tree.
For my Raggedy Ann yo-yo garland, I ended up making 2 sizes:
- Yo-yos that were 1.25 inches wide. (The circle template has a diameter of 3-inches.)
- Yo-yos that were 2 inches wide. (The circle template has a diameter of 4-inches.)
How to Make Yo-Yos
Before you can get started on a yo-yo Christmas garland, you need to know how to make yo-yos.
You can watch how I make fabric yo-yos in the video below.
You can also read the full post on how to make them by clicking on the blue button below the video.

Making yo-yos is a simple process and doesn’t take long to master. Once you make a few yo-yos, you’ll be able to start churning them out without thinking about the steps. Before you realize it, there will be a large pile in front of you.
How Many Yo-Yos to Make
The number of yo-yos you’ll need is going to vary depending on how big your tree is and how close you want the rows to be when the garland is spiraled around it.
Not really knowing how many yo-yos would be needed for my tree I filled a pyrex dish until it was full.
It ended up being 185 yo-yos with approximately the same number of both sizes.
To give you a reference, after they were all sewn together, my yo-yo Christmas garland was 8 yards and 14 inches long.
Once you have a pile of yo-yos, you’re ready to put them all together!
How to Make a Yo-Yo Christmas Garland

How to Make a Yo-Yo Christmas Garland
Learn how to make garland from fabric yo-yos. This is a fun sewing project to work on while watching holiday shows.
Materials
- Circle templates for the yo-yos
- Fabric for the yo-yos; can be scraps
- Polyester thread
Tools
- Pencil or other marking utensil
- Scissors
- Hand needles with a shorter shaft to make the yo-yos
- Hand needles with a longer shaft (like milliner's needles) to connect the yo-yos
Instructions
Make the Yo-Yos
First, you will need to make the yo-yos. Once you have a pile that you think will be enough, you're ready to begin connecting the yo-yos together.
Connect the Yo-Yos
- Cut a length of thread 15-18 inches long. Thread it through the needle and tie a knot at the end.
- Insert the thread through the center hole of one yo-yo and out through the edge of the same yo-yo. The needle should go between the fabric layers of the yo-yo.

- Put another yo-yo on top of the first one with the center holes facing each other.
- Use the ladder stitch and go back and forth a couple of times in the same spot.
- Pull the thread gently but firmly until the edges of the yo-yos are right next to each other.
- Insert the needle into the edge of the 2nd yo-yo and out through its center. Pay attention and make sure the needle doesn't go through the front or the back of the yo-yo.
- The 2nd yo-yo now becomes yo-yo one. Repeat steps 2 - 6 connecting the yo-yos until you have about 8 inches of thread left.
- To tie off the thread, you want it to be coming out of the center of a yo-yo. Stitch a couple gathers together and create a loop. Poke the needle through the loop and pull until it is secure. Take a second stitch looping the thread and pulling the needle through. (I show how to do this in the video below around minute 3:40.)
- Push the needle through the yo-yo to 'bury the thread' and cut off any access thread.
- Cut another length of thread and continue until all the yo-yos are sewn together.


Notes
The prep time includes making the yo-yos. This will vary depending on how quickly and how many yo-yos you'll need. The same goes for the time to make the garland.
Polyester thread is strong, smooth, and durable. Other types of thread can be used, though.
The longer milliner's needles are also called straw needles. The length of the needles makes it easy to connect the yo-yos.

Recommended Products
As an Amazon Associate and member of other affiliate programs, I earn from qualifying purchases.

Fabric Yo-Yo Projects
There are a lot of creative things you can do with yo-yos either in single or multiple layers.

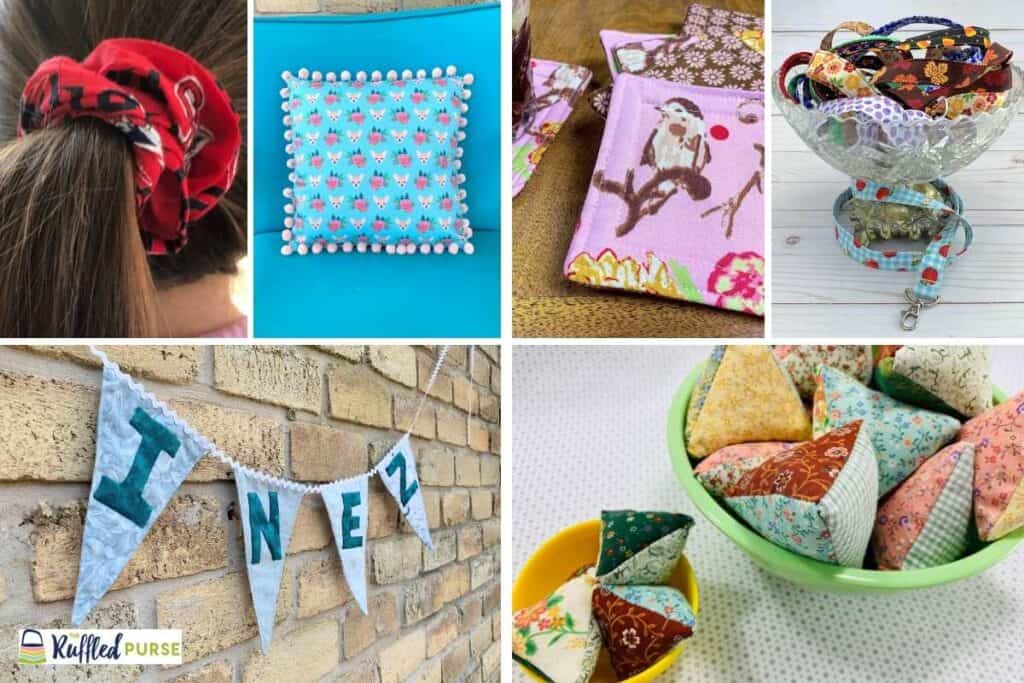
They can be embellishments on pillows, picture frames, tea towels, or headbands.
Use fabric yo-yos to create small projects such as wreaths, a wristlet purse, garland, key chains, ornaments, or a bouquet of flowers.
You can even sew them together and create large projects such as bed coverings, table runners, or clothing.
There are a few yo-yo project tutorials (each with FREE templates) on The Ruffled Purse:
- Fabric Yo-Yo Christmas Tree Ornament
- Fabric Yo-Yo Garland
- Festive Circle Coasters
- Fabric Yo-Yo Candles (video only)

Let’s Connect
My goal at The Ruffled Purse is to support, empower, and inspire you to sew and make wonderful things for yourself, your home, and others.
Need help or have questions on this project, pattern, or tutorial? Send me an email at nicki@theruffledpurse.com and we can work together to get it figured out!
Make sure you sign up for Snappy Scissors (my FREE newsletter sent directly to your inbox) for ongoing sewing inspiration and education. You can find the sign-up box at the bottom of the post.
Also, like or follow The Ruffled Purse® on Facebook. This is another way to stay up-to-date on the fun things going on at The Ruffled Purse.
You can even follow me on Pinterest, Instagram and YouTube! 😊
As seen in:


More Sewing Education
Looking for more sewing education? Here are a few other posts you may like: